The Nangle & Niesen Guide to Planting Bare Root Trees

Jump to video ↓
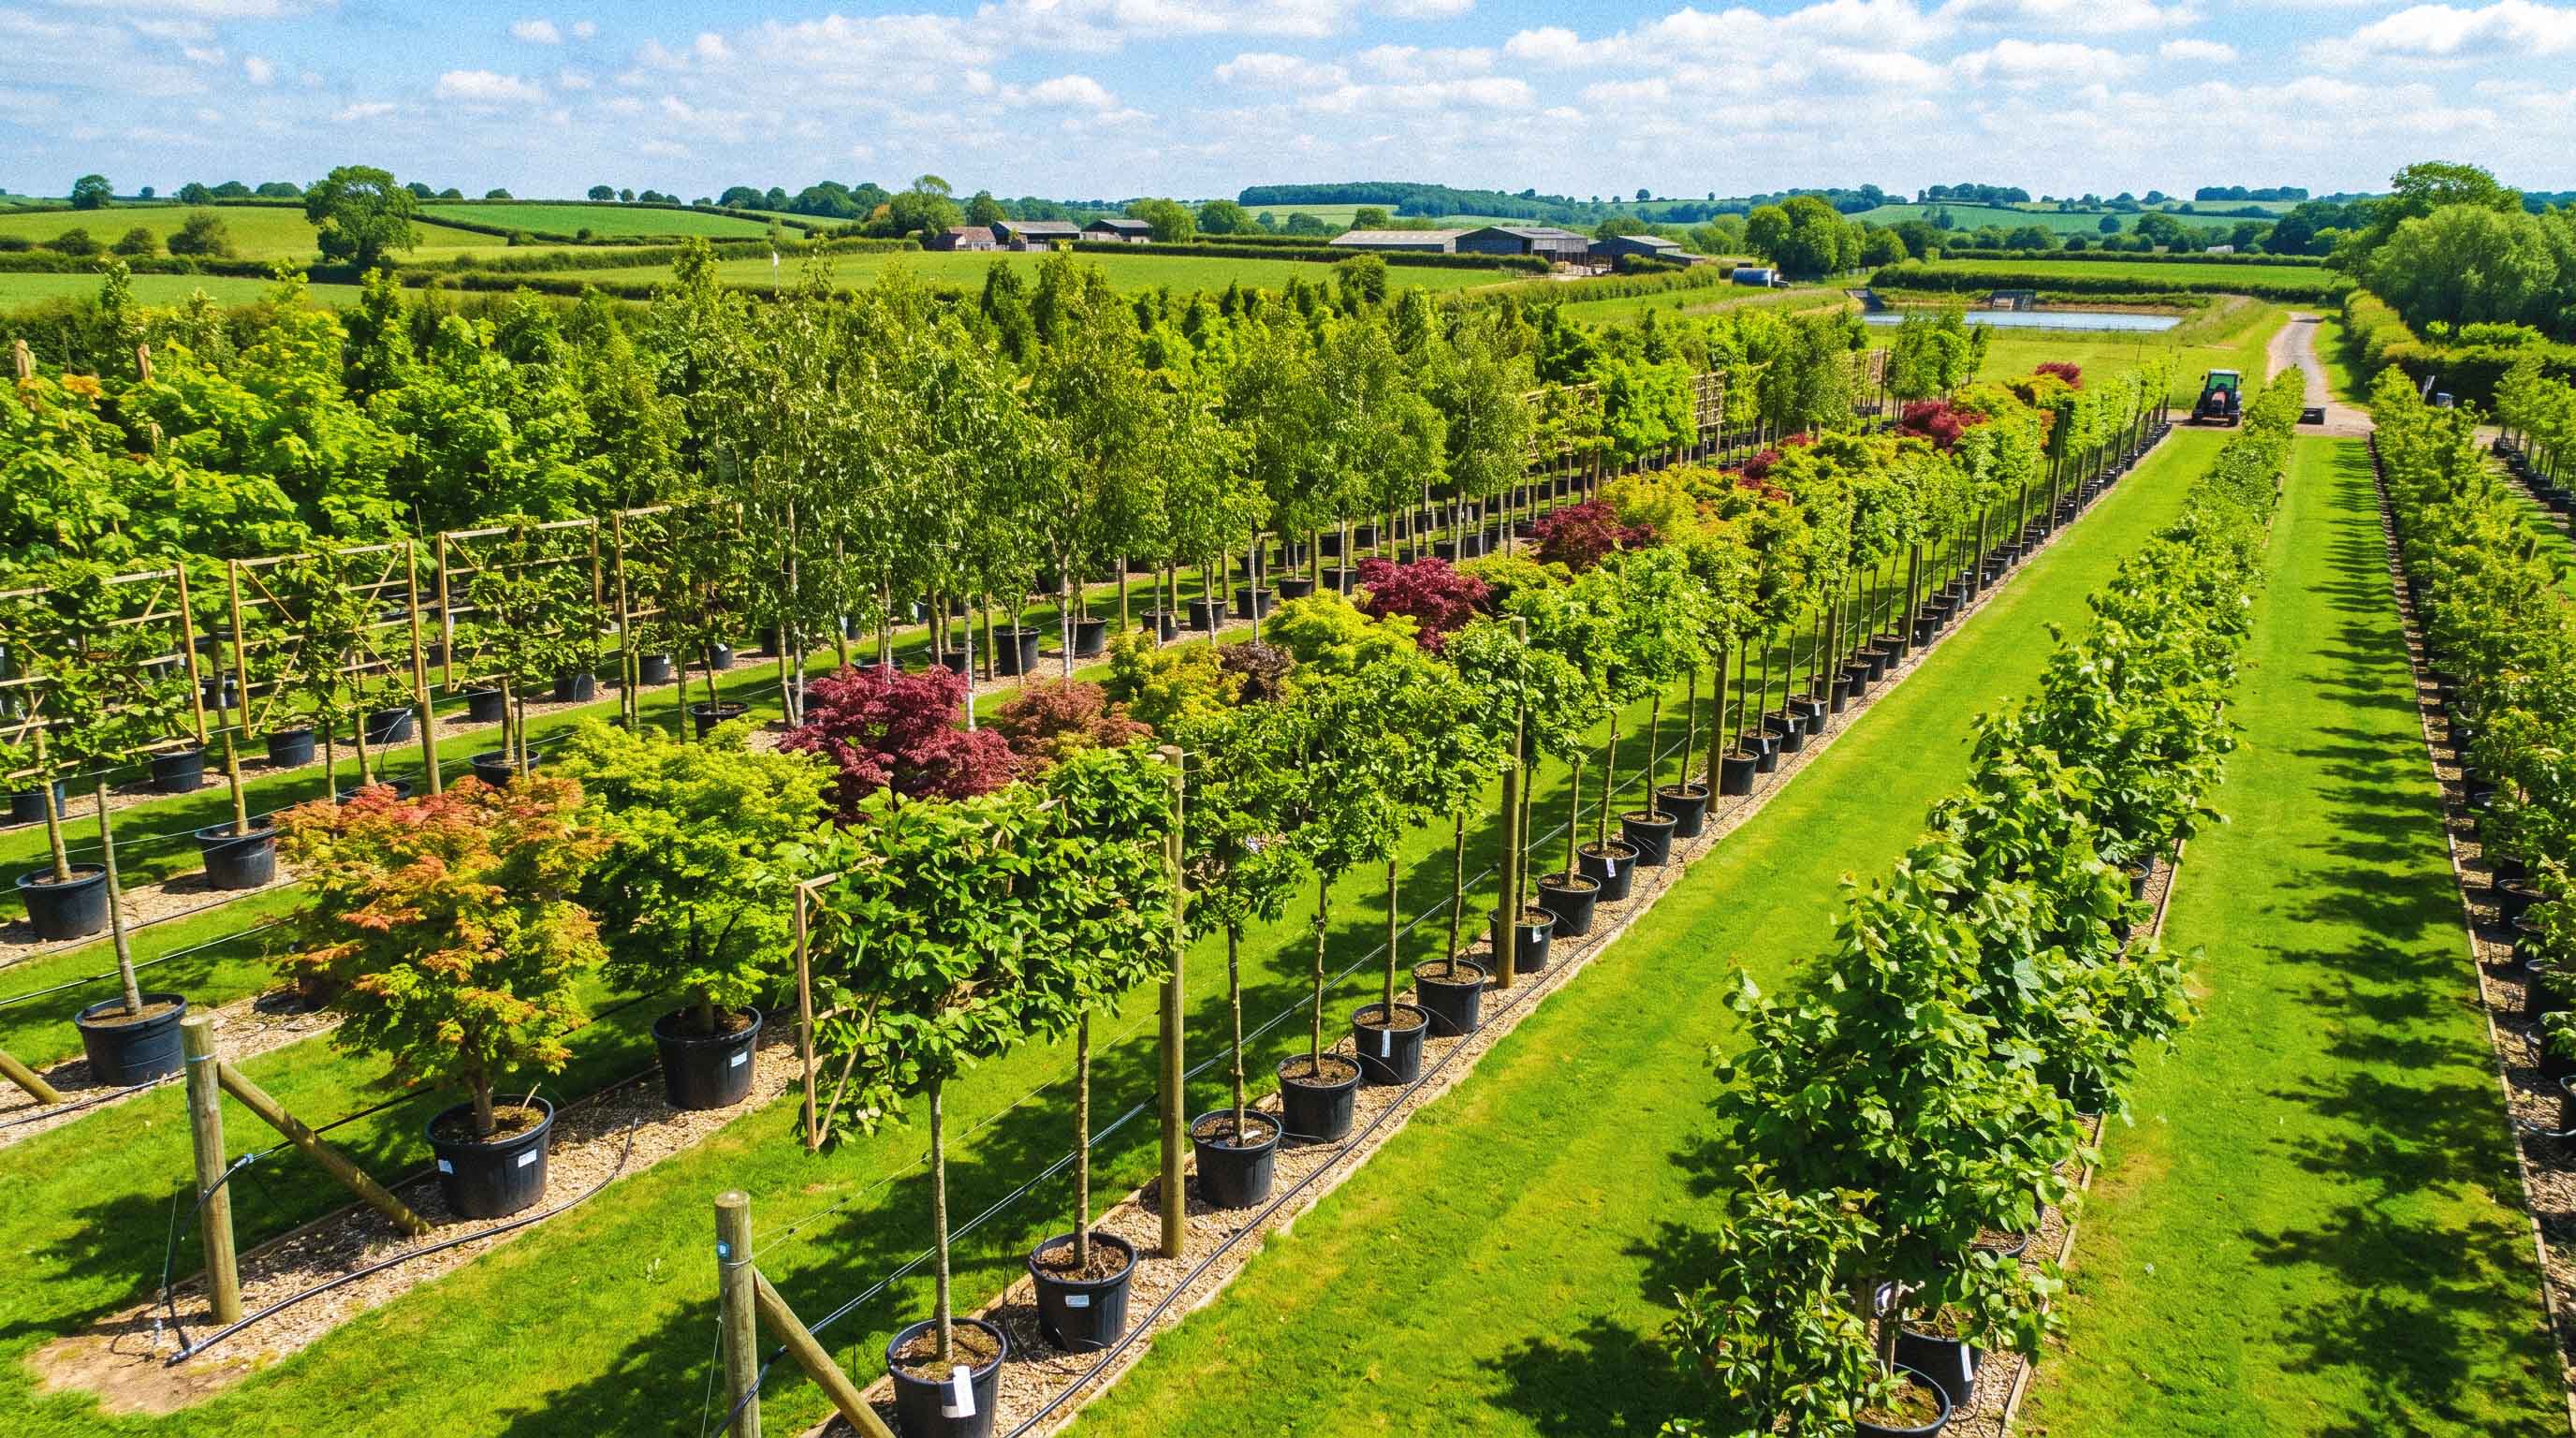
For over 50 years, Nangle & Niesen has been cultivating exceptional trees for Ireland's landscape professionals and discerning homeowners. We believe that a tree’s long-term success in your garden or project relies just as much on the care taken during planting as it does on the decades we spend nurturing it in our nursery.
A bare root tree is a tree that has been lifted from the ground with its roots exposed, rather than grown in a container. Planting these specimens requires specific techniques to ensure they thrive. In the accompanying video, we demonstrate this process using a beautiful 10-12cm girth Field Maple (Acer campestre 'Elsrijk').
Use this comprehensive guide and knowledge base alongside our video tutorial to ensure your vision takes root and flourishes for a lifetime.
Essential Tools and Materials
Before breaking ground, ensure you have the right equipment prepared.

The Toolkit:
- A shovel or a spade is necessary to properly dig the planting hole.
- A sledgehammer is needed to drive the wooden stake into the ground.
- A wooden mallet is ideal for driving the stake safely, as a heavy sledgehammer can damage the top of the timber.
- A standard hammer is required to secure the nails into the stake.
- A crowbar is essential for driving a precise pilot hole for the stake.
The Planting Materials:
- A dedicated staking kit is required to support the tree.
- A single staking kit includes a plastic cushion to protect the bark.
- The kit also contains strapping and special wide-headed nails, which prevent the tie from pulling apart under tension.
- For a 10-12cm bare root tree, you will need a 5-foot by 3-inch round wooden stake.
- High-quality topsoil and compost are needed for backfilling.
- A mycorrhizal bacterial stimulant should be applied to the roots.
- ProStart Osmocote Slow Release Fertilizer is recommended to give the young tree the best possible start.
Step-by-Step Planting Guide
1. Preparing the Site and Soil
Begin by digging a hole tailored to the size of the tree's root system, ensuring it will fit comfortably. Rather than discarding the grass sod excavated from the surface, place some of it around the bottom of the hole. The top layer of soil contains valuable organic matter that will break down over time, feeding the tree and helping to retain essential moisture in the soil.
2. Finding the Perfect Level
Getting the planting depth correct is arguably the most important step in the entire process. You must plant the tree level with, or slightly proud of, the soil line where it was previously growing in the nursery.
Position the tree so the root flare sits slightly elevated, allowing rainwater to flow away naturally. Tree roots prefer to remain relatively dry, and under no circumstances should the tree be planted too high or too deep. If you find the tree is sitting too low in the hole, lift it out, add fresh topsoil to the base, and firm it down to prevent future sinking. Even if the soil settles by an inch or two over time, starting at a slightly proud level ensures the tree remains perfectly positioned.
3. Stimulating Root Growth
Before filling the hole completely, apply your mycorrhizal stimulant directly onto the exposed roots. This fantastic bacterial addition increases biological activity in the soil and is a crucial boost for young roots trying to establish themselves.
Next, apply a generous helping of ProStart Osmocote Slow Release Fertilizer. You should apply roughly 150 to 200 grams per tree. This specific formulation breaks down over a zero to six-month period. It provides vital nitrogen and nutrients precisely when the tree needs them most—during the critical spring months of March, April, May, and June as it pushes out new roots and foliage.
4. Backfilling with Care
Mix your compost thoroughly with the native topsoil to create a soft, nutrient-rich environment. This soft mixture ensures that as new roots begin to grow, they are met with organic matter rather than hard, compacted earth. As you fill the hole, firmly tamp the soil down to ensure the tree does not drop, constantly monitoring the trunk to keep the soil level at the correct height.
5. Securing the Tree (Staking)
To give the root system time to establish, you must hold the tree firmly in position for the next two to three growing seasons. For a bare root tree of 10-12cm girth, a single stake and tie system is the recommended standard.
(Note: For larger trees, such as a 12-14cm or 14-16cm girth, we strongly advise upgrading to a double stake and crossbar system for adequate support.)
- Use a crowbar to drive a pilot hole exactly where the stake will go, positioning it tight to the trunk—approximately an inch away.
- Driving the crowbar cleanly through the soil prevents damage to the newly planted roots below.
- Drive the stake into the firm base using your mallet, ensuring it sits securely.
- Avoid placing the stake several inches away from the trunk, as this fails to provide sturdy support.
- Place the 38mm soft plastic cushion between the tree and the stake.
- This cushion is essential because if the tree rubs directly against the wooden stake, it will severely damage the bark.
- Wrap the strapping around the tree and cushion, securing it to the stake with the wide-headed nails.
- Walk around the tree to ensure it is perfectly straight before finalizing the tension.
Once two years have passed, you can simply cut away the plastic tie and remove the stake and cushion, as the roots will have firmly anchored the tree into its new home.
6. The Finishing Touch: Mulch
Complete the planting process by adding a final dusting of ProStart fertilizer, followed by a beautiful layer of compost, leaf mold, or bark mulch over the top.
This layer provides numerous benefits beyond a fantastic visual aesthetic. It keeps the root zone warm during the winter months and prevents crucial water from evaporating during the summer. It also suppresses weeds and grass, which would otherwise compete with your tree for moisture and nutrients. Ensure the mulch is spread evenly and not mounded too high against the trunk.
Ready to elevate your landscape?
Whether you are a landscape architect sourcing a unique specimen, a landscaper seeking reliable wholesale stock, or a homeowner looking to transform your garden, Nangle & Niesen is your trusted partner.
Explore our diverse catalogue of mature trees online or contact our expert team today to discuss your next project. Subscribe to our newsletter below for monthly insights, nursery updates, and more exclusive guides from Ireland's premier tree nursery.